记第一次单页面应用部署实践

前面没有过单页面前后端分离的应用部署的经验;尝试着自己部署了一下,遇到了不少的问题,这里记录一下

自己yy的架构图


环境

  • 前端技术栈:Angular v6.0.3,Angular Material v6.3.2
  • NodeJS技术栈:NodeJS v9.5.0,Express v4.16.4,pm2 v3.3.1
  • Go技术栈:Go v1.9,gin v1.2
  • 服务器:CentOS7,Nginx v1.12.2

搭建Nodejs中转服务器

对Express比较熟悉,且其生态圈非常好,所以就使用Express中转服务器,功能有三

  • 处理前端单页面应用路由History模式
  • 处理静态资源:html,css,js文件
  • 对所有api请求进行转发

部署要服务器上后使用pm2启动就行

关于NodeJS版本切换的问题,使用nvm就好,官方的教程是靠谱的,千万不要用yum来安装

大体的目录结构

1
2
3
4
5
6
7
8
9
10
11
middle_server
├── config // 存放一些配置
│   └── config.json
├── package.json
├── server.js // 服务器主逻辑
└── static // 此处存放所有静态资源
├── assets
│   └── image
│   └── image.png
├── index.html
└── main.86479c8b865775dc42fc.js

完成需求一,需要安装 connect-history-api-fallback

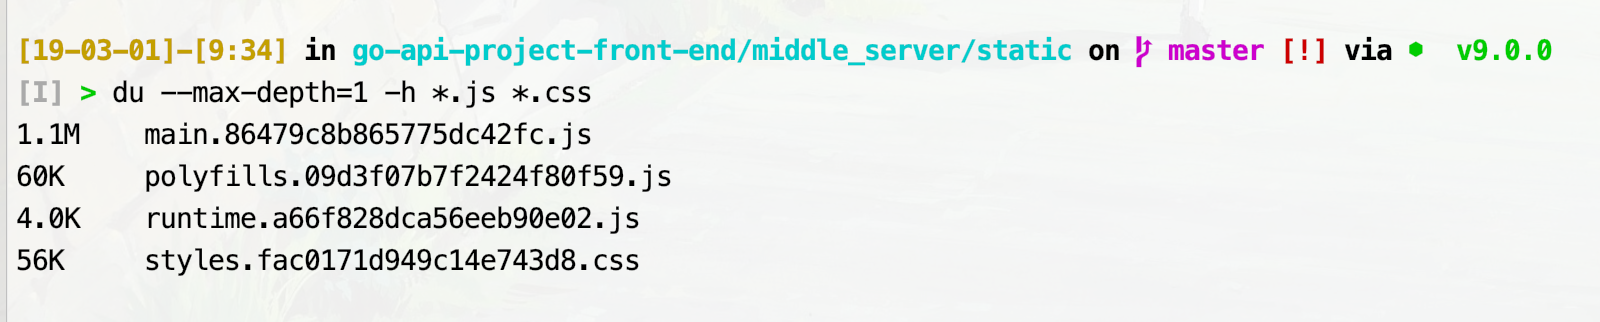
完成需求二,使用Express提供的api就可以了,当然,由于使用单页面应用,js,css文件会比较大,如下:

所有记得设置客户端缓存,可以参考这个链接,去直接看官方文档也行。

当然,设置了缓存的话就别忘了给静态资源文件名或请求的url打时间戳,不过这个应该是前端做的,比如我使用的Angular在打包的时候已经为文件打上时间戳了,虽然漏了html和图片文件….

完成需求三,需要安装express-http-proxy,当然,自己实现也可以,可以参看这篇问答

所有最后server.js是这样的,记得最后把所有可更改的数值存放到json文件中方便更改,比如监听的端口

1
2
3
4
5
6
7
8
9
10
11
12
13
14
15
16
17
18
19
20
21
22
23
24
25
26
27
28
29
const express = require('express')
const proxy = require('express-http-proxy')
const history = require('connect-history-api-fallback');
const http = require('http');
const app = express()

const port = '4200'

// 为前端路由history模式而配置
app.use(history({
htmlAcceptHeaders: ['text/html']
}));

// 配置静态文件路径,并设置浏览器缓存时间为30天
app.use('/', express.static('static', {maxAge: 2592000000}))

// 配置api代理,proxy到api服务器上
app.use('/', proxy('/', {
// 配置一些过滤器 .....
filter: function(req, res) {
return true;
}
}));

// 启动nodejs服务器
http.createServer(app)
.listen(port, () => {
console.log(`font-end server is listening at port ${port}`)
});

编译Golang

本地环境是MacOS,我不想把整个工程外加依赖都打包放到服务器上,然后在服务器上编译;可喜的是Golang是支持多平台编译的

我的服务器环境是 CentOS,所以就一句命令

1
GOOS=linux GOARCH=amd64 go build -v /path/to/target/package

关于Mysql

安装Mysql

跟着这个教程一步一步来就可以了


重置密码

唯一要注意的是,关于安装完毕后更改密码,大部分结果方案都是查看Mysql的输出日志找它生成的随机密码,也就是输入如下命令:

1
sudo grep 'temporary password' /var/log/mysqld.log

这里提供另一种方案,来自Change mysql root password on Centos7,我就直接copy过来了

1
2
3
4
5
6
7
8
9
10
11
12
13
14
15
16
17
18
19
20
21
22
23
24
25
26
27
28
29
30
31
32
33
# 1. Stop mysql:
systemctl stop mysqld

# 2. Set the mySQL environment option
systemctl set-environment MYSQLD_OPTS="--skip-grant-tables"

# 3. Start mysql usig the options you just set
systemctl start mysqld

# 4. Login as root
mysql -u root

# 5. Update the root user password with these mysql commands
# 如果Mysql版本大于5.7.6请请使用下一条语句
mysql> UPDATE mysql.user SET authentication_string = PASSWORD('MyNewPassword')
-> WHERE User = 'root' AND Host = 'localhost';
mysql> FLUSH PRIVILEGES;
mysql> quit

# As mentioned my shokulei in the comments, for 5.7.6 and later, you should use
mysql> ALTER USER 'root'@'localhost' IDENTIFIED BY 'MyNewPass';

# 6. Stop mysql
systemctl stop mysqld

# 7. Unset the mySQL envitroment option so it starts normally next time
systemctl unset-environment MYSQLD_OPTS

# 8. Start mysql normally:
systemctl start mysqld

# Try to login using your new password:
7. mysql -u root -p

修改默认编码

参考这个链接就ok了,大体的我就直接copy过来了

在my.cnf中添加如下内容,这个文件不出意外的话应该是在 /etc/my.cnf 路径下

1
2
3
4
5
6
7
8
9
10
11
[client]
default-character-set=utf8

[mysql]
default-character-set=utf8


[mysqld]
collation-server = utf8_unicode_ci
init-connect='SET NAMES utf8'
character-set-server = utf8

关于Nginx

安装Nginx

参考这个链接就可以了,非常靠谱


打开端口

我希望查看运行在4200的NodeJS服务器,8080的Go服务器是否已经运行成功,就希望访问这些端口,但是CentOS默认都是关闭的,需要使用如下命令打开,参考来源

因为http/https的传输层用的是tcp,所以就直接写tcp了

1
2
3
firewall-cmd --zone=public --add-port=4200/tcp --permanent
firewall-cmd --zone=public --add-port=8080/tcp --permanent
firewall-cmd --reload

输入如下命令查看是否开放

1
firewall-cmd --list-ports

同时,可以使用如下命令查看那些端口有程序监听

1
netstat -ltnp

配置

重头戏就是Nginx配置了,其实也很简单,在配置文件 /etc/nginx/nginx/conf中加这么一段就行了

1
2
3
4
5
6
7
8
9
10
11
server {
server_name empmanage.schwarzeni.com;
location / {
proxy_pass http://localhost:4200;
proxy_set_header Host $host:80;
proxy_set_header X-Real-IP $remote_addr;
proxy_set_header X-Forwarded-For $proxy_add_x_forwarded_for;
proxy_cookie_path / /;
}
listen 80;
}

server_name 就是你的域名,这里我设了一个二级域名

关于参数 proxy_set_headerproxy_set_headerproxy_set_header,参考这篇文章:nginx 反向代理 端口 重定向问题

至于 proxy_cookie_path,是为了防止 locationproxy_pass 的路径不一导致cookie丢失的问题

1
2
proxy_cookie_path off;
proxy_cookie_path path replacement;

详细使用请参考官网,这篇博文:解决nginx proxy_pass反向代理cookie,session丢失的问题 写的也不错


Nginx502

这个多半是SELinux的问题,参考博客nginx反向代理502-Bad Gateway问题解决的内容输入如下命令查看

1
/usr/sbin/getsebool -a |grep httpd_can_network_connect

如果如下输入为 off 则就是它的问题

输入如下命令就可以解决问题

1
setsebool -P httpd_can_network_connect 1

或者直接关闭SELinux


关于Redis

直接跟着教程1教程2来就可以了